A broken RV rooftop AC unit can ruin your trip. Understanding common issues helps you fix them quickly.
RV rooftop AC units keep your space cool during travel. But like any appliance, they can have problems. Knowing how to troubleshoot these issues saves time and money. This guide covers common problems and their solutions, ensuring you stay cool and comfortable.
From strange noises to poor cooling, we’ll walk you through simple steps to get your AC unit back in top shape. Whether you’re a seasoned RV owner or new to the lifestyle, these tips will help you handle AC troubles with ease. Let’s dive into the world of RV rooftop AC troubleshooting and keep your adventures cool and pleasant.
Common Ac Issues
RV rooftop AC units can face many issues. Understanding these problems helps in fixing them quickly. Two common issues are insufficient cooling and unusual noises.
Insufficient Cooling
Sometimes, your RV AC may not cool properly. This can happen for various reasons. Here are some common causes:
- Dirty Air Filter: A clogged filter restricts airflow.
- Low Refrigerant Levels: This reduces the AC’s cooling ability.
- Blocked Condenser Coils: Dirt on coils prevents heat dissipation.
Regular maintenance helps avoid these issues. Clean or replace the air filter monthly. Check refrigerant levels and inspect condenser coils for dirt.
Unusual Noises
Hearing strange noises from your AC? This can be worrisome. Here are some potential causes:
- Loose Parts: Screws or components may come loose.
- Fan Motor Issues: A faulty motor can make unusual sounds.
- Debris in Unit: Small objects stuck in the unit can cause noise.
To fix this, turn off the AC and inspect it. Tighten any loose screws. Check the fan motor and remove any debris. If the noise persists, consult a professional.
These are just a few common AC issues. Understanding and addressing them can keep your RV cool and comfortable.
Basic Maintenance Tips
Regular maintenance of your RV rooftop AC unit ensures its efficiency. It also prolongs the lifespan of the unit. Follow these basic maintenance tips for optimal performance.
Regular Cleaning
Dirt and debris can hinder your AC unit’s performance. Clean the exterior regularly with a soft brush. This prevents blockages and ensures proper airflow. Also, clean the condenser coils. Use a coil cleaner for best results. Keep the area around the unit clear of leaves and branches.
Filter Replacement
Filters trap dust and particles, keeping the air clean. Replace the filter every three months. This maintains air quality and efficiency. Check the filter more often during heavy use. A dirty filter strains the unit, reducing its lifespan. Always use the right size and type of filter.
Diy Troubleshooting Steps
Your RV rooftop AC unit might not always work perfectly. Before calling a professional, try these DIY troubleshooting steps. They can save you time and money.
Checking Power Supply
First, check the power supply. Ensure your RV is plugged in. Verify the circuit breaker is not tripped. Sometimes, the problem is a simple power issue. If the breaker is tripped, reset it. This might solve the problem.
Inspect the power cord for any damage. A frayed or cut cord can cause issues. Replace the cord if you see any damage. Also, check the fuses. Replace any blown fuses. Your AC needs a steady power supply to function properly.
Inspecting Thermostat
Next, inspect the thermostat. Ensure it is set to the correct temperature. Sometimes, the thermostat is set too high or low. Adjust it and see if the AC starts working.
Check if the thermostat is clean. Dust and dirt can affect its performance. Clean it gently with a soft cloth. Make sure the thermostat is not near any heat sources. Heat can cause it to read the wrong temperature.
If the thermostat still doesn’t work, it might be faulty. Consider replacing it. A working thermostat is crucial for your AC unit.
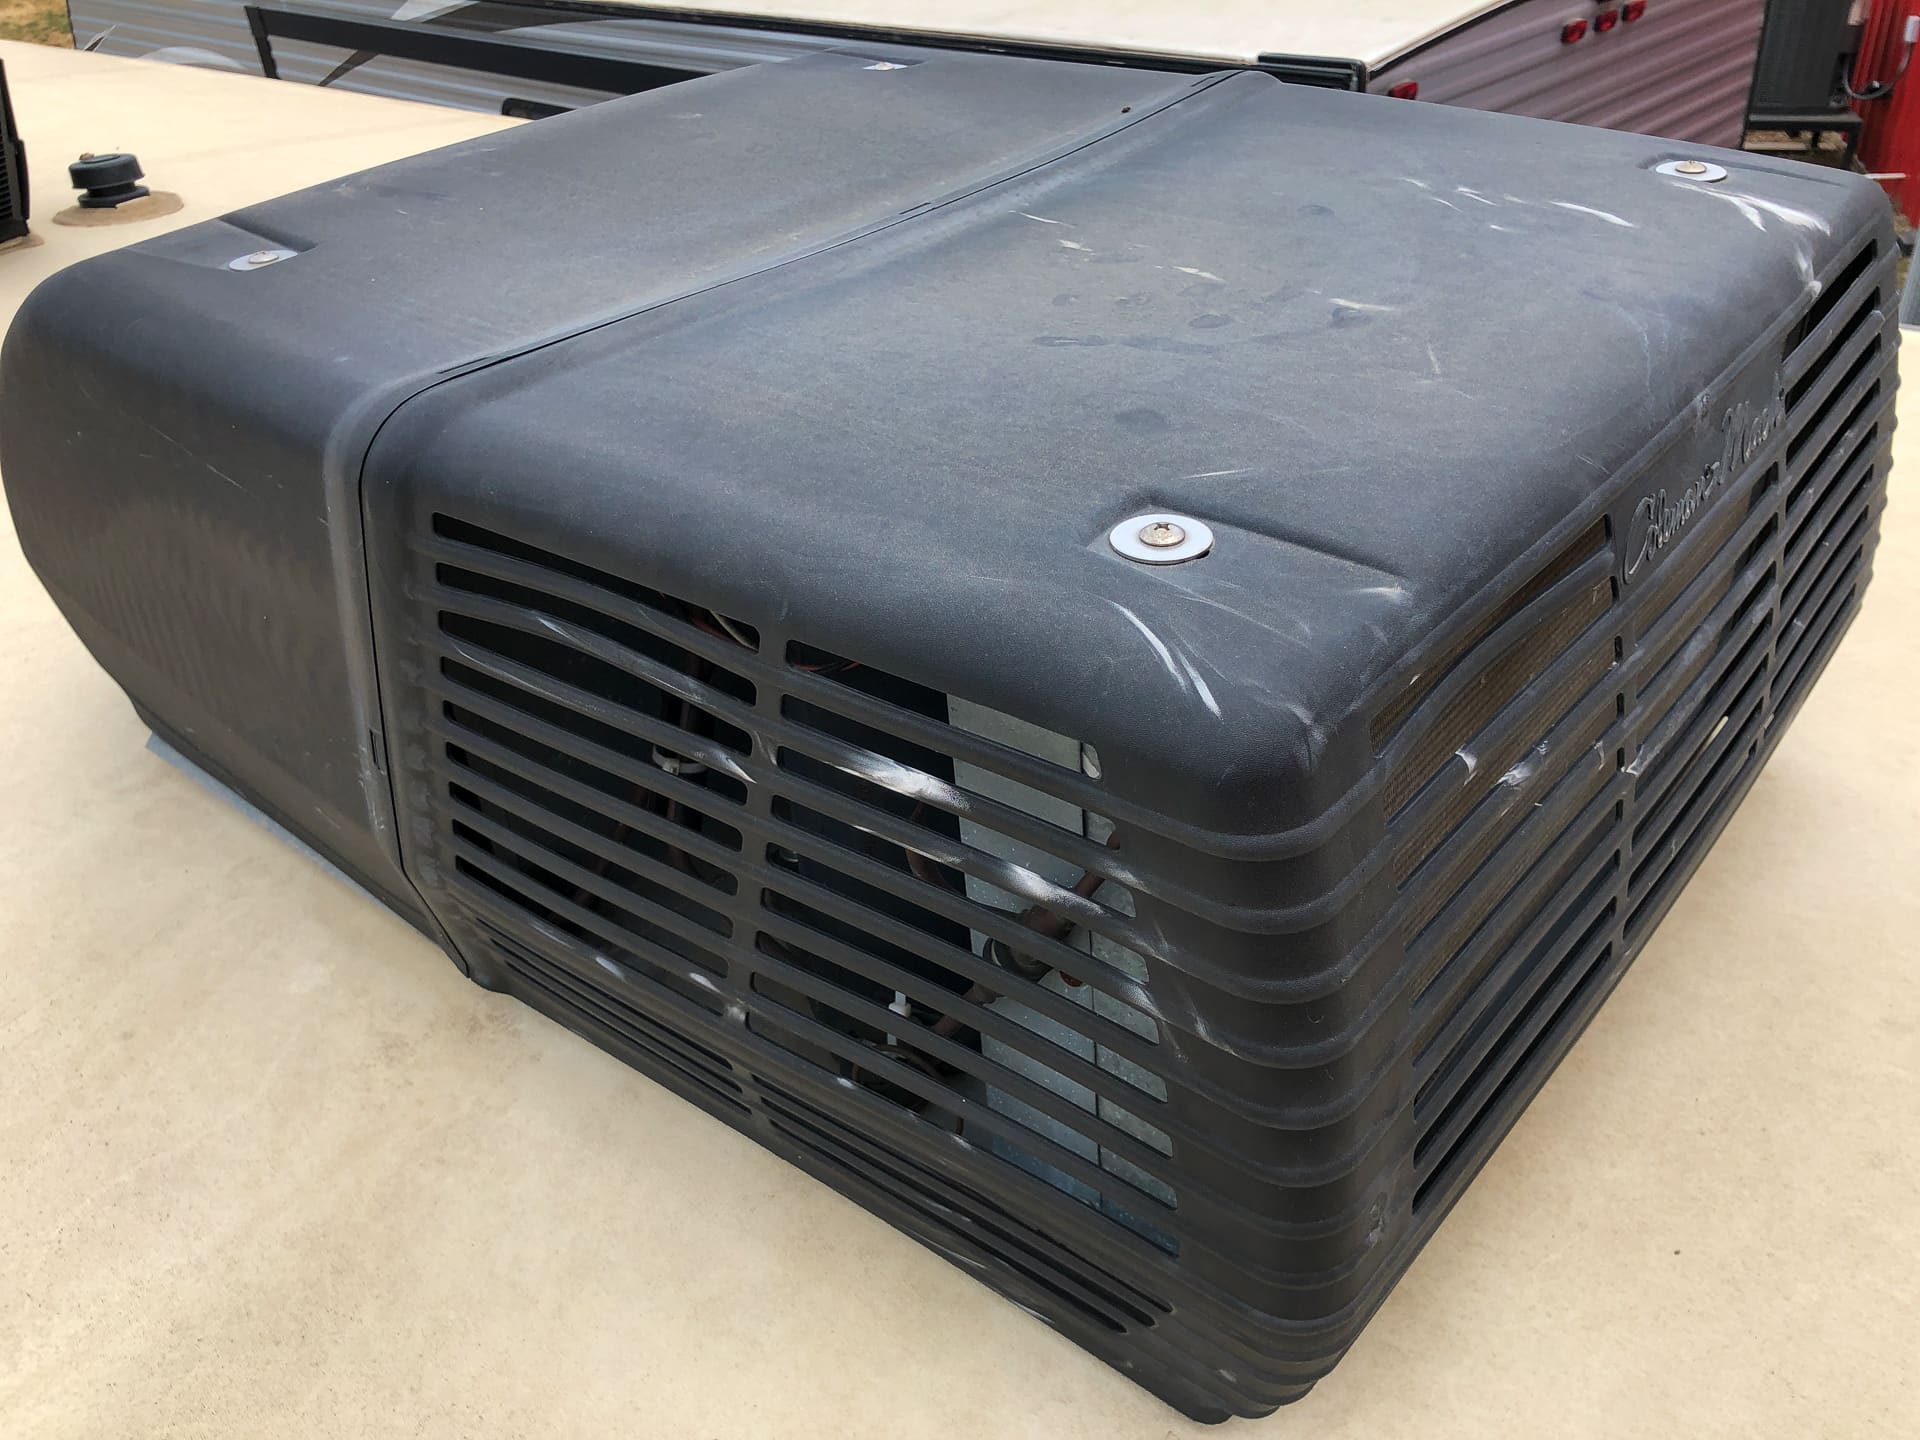
Credit: roadtrippers.com
Professional Repair Vs. Diy
Deciding between professional repair and DIY for your RV rooftop AC unit can be challenging. You need to assess the situation, understand your skills, and consider the costs. Let’s dive into the details to help you make an informed decision.
When To Call A Professional
Some issues are better handled by a professional technician. Here are a few scenarios:
- Electrical Problems: If you suspect electrical issues, call a pro. Electrical repairs can be dangerous.
- Refrigerant Leaks: Leaks require special tools and expertise. Professionals can safely manage this.
- Complex Repairs: If the problem involves multiple components, seek professional help. They can diagnose and fix it efficiently.
Professionals have the experience and tools to handle complex issues. They ensure your AC unit gets the right fix.
Cost Considerations
Understanding the cost implications is vital. Here’s a simple comparison:
| Aspect | Professional Repair | DIY |
|---|---|---|
| Labor Costs | High | None |
| Parts | Included | Out-of-pocket |
| Time | Minimal | Varies |
| Risk | Low | High |
Professional repairs can be costly but come with guarantees. DIY might save money but involves risks and time.
Weigh your options carefully. Choose what suits your skills, budget, and comfort level.
Preventative Measures
Maintaining your RV rooftop AC unit is vital for its longevity and performance. Regular maintenance and proper usage can prevent costly repairs and ensure a comfortable trip. Here, we outline some essential preventative measures to keep your AC unit in top shape.
Annual Inspections
Conducting an annual inspection of your RV rooftop AC unit can identify potential issues early. It’s best to schedule this inspection before the summer season. This ensures your unit is ready for the warm months.
During the inspection, check for the following:
- Loose or damaged electrical connections
- Worn-out or clogged filters
- Leaking or cracked ducts
- Signs of wear on the fan and motor
Addressing these issues early can prevent more significant problems down the road. It’s advisable to have a professional technician perform this inspection for a thorough check-up.
Proper Usage
Using your RV rooftop AC unit correctly can significantly extend its lifespan. Here are some usage tips to consider:
- Do not overload the unit: Avoid running the AC at maximum capacity for prolonged periods.
- Use a surge protector: This prevents electrical surges from damaging the unit.
- Keep the unit clean: Regularly clean the filters and the exterior of the AC to ensure proper airflow.
- Monitor the thermostat: Set the thermostat at a moderate temperature to reduce strain on the unit.
- Ensure proper ventilation: Keep the area around the AC unit free from obstructions.
These simple steps can help you avoid unnecessary wear and tear. Proper usage not only prolongs the life of your AC unit but also ensures it runs efficiently.
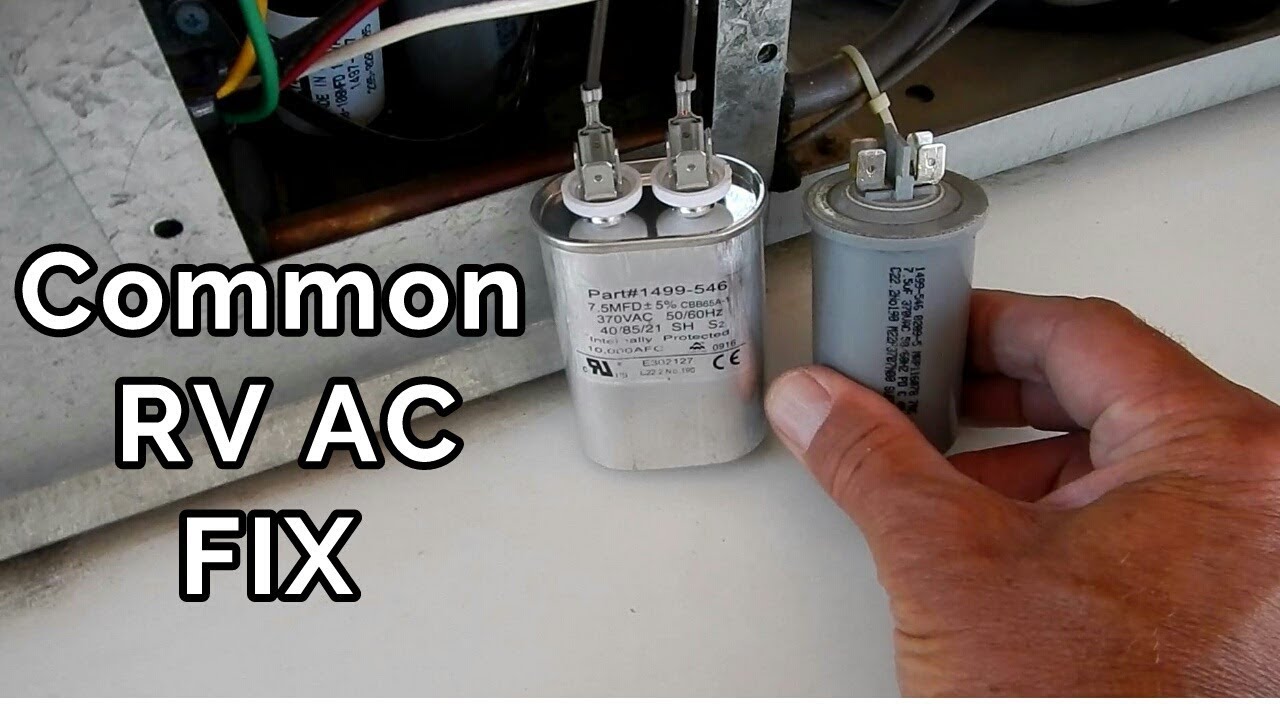
Credit: www.youtube.com
Upgrading Your Ac Unit
Upgrading your RV rooftop AC unit can offer better cooling efficiency and comfort. A new unit often means quieter operation and advanced features. It may even consume less power, giving you more flexibility during your travels. This guide will help you choose the right unit and install it correctly.
Choosing The Right Unit
When selecting a new AC unit, consider your RV’s size. Larger RVs need more powerful units. Measure your rooftop space to ensure a proper fit. Look for units with higher BTU ratings for better cooling efficiency. Energy-efficient models save money in the long run.
- Check the BTU rating: Match it to your RV’s size.
- Measure your rooftop space: Ensure the new unit fits.
- Look for energy-efficient models: Save on power usage.
Installation Tips
Installing a new AC unit requires some tools and basic knowledge. Follow these steps for a smooth installation.
- Remove the old unit: Unscrew and carefully lift it off.
- Clean the rooftop area: Ensure no debris remains.
- Place the new unit: Align it with the existing hole.
- Secure the unit: Tighten screws and ensure it is stable.
- Connect wiring: Follow the manufacturer’s instructions closely.
For safety, always disconnect the power before starting. Double-check all connections and ensure there are no leaks. If unsure, consult a professional. Proper installation guarantees optimal performance and longevity of your new AC unit.
Energy Efficiency Tips
Energy efficiency is crucial for your RV’s rooftop AC unit. Efficient usage helps reduce energy costs and prolongs the unit’s life. Implementing the right tips can ensure optimal performance and comfort during your travels.
Optimizing Settings
Set your thermostat to a moderate temperature. Keeping it around 78 degrees can save energy. Avoid frequent temperature changes. This reduces the workload on your AC unit. Use the fan mode when it’s not too hot. It circulates air without using much energy.
Consider using a programmable thermostat. It adjusts temperatures automatically. You can set it to higher temperatures when you’re not in the RV. This reduces energy usage significantly.
Sealing Air Leaks
Inspect your RV for air leaks. These can cause your AC unit to work harder. Common areas include windows, doors, and vents. Use weather stripping or caulk to seal any gaps. This keeps cool air inside and hot air out.
Check the AC unit’s seals as well. Ensure they are intact and not worn out. Replacing old seals can improve efficiency. This leads to a more comfortable and energy-efficient RV.
Credit: bryantrv.com
Handling Emergencies
Facing an RV rooftop AC unit issue? Start by checking the power source and circuit breaker. Clean or replace the air filter for better airflow.
Emergencies with your RV rooftop AC unit can be stressful. But having a plan can make things easier. This section will guide you through quick fixes and safety precautions. Stay calm and follow these steps to handle emergencies effectively.Quick Fixes
Sometimes, the problem might be small. You can fix it quickly. Here are a few steps:- Check the Power Source: Ensure the unit is plugged in.
- Reset the Unit: Turn it off, wait a few minutes, then turn it back on.
- Clean Filters: Dirty filters can cause issues. Clean or replace them.
- Inspect the Thermostat: Ensure it is set to the right temperature.
- Look for Obstructions: Clear any debris blocking the airflow.
Safety Precautions
Safety should always be your priority. Here are some precautions:- Turn Off Power: Always turn off the power before inspecting the unit.
- Use Proper Tools: Do not use damaged or improper tools.
- Avoid Water: Do not work on the unit if it is wet or raining.
- Wear Protective Gear: Gloves and goggles can protect you from injury.
- Check for Leaks: Look for refrigerant leaks. They can be hazardous.
| Issue | Quick Fix | Safety Precaution |
|---|---|---|
| No Power | Check power source | Turn off power first |
| No Cooling | Inspect thermostat | Avoid electrical contact |
| Strange Noise | Clear obstructions | Use protective gear |
Frequently Asked Questions
How Do I Reset My Rv Rooftop Ac Unit?
To reset your RV rooftop AC unit, turn off the power supply for 10 minutes. Then, turn it back on.
Why Is My Rv Ac Not Cooling Properly?
Your RV AC may not cool properly due to dirty filters, low refrigerant, or blocked airflow.
How Often Should I Clean Rv Ac Filters?
Clean your RV AC filters every month to ensure optimal performance and prevent blockages and inefficiencies.
What To Do If Rv Ac Is Making Noise?
If your RV AC is noisy, check for loose parts, debris, or worn-out components. Tighten or replace them.
Conclusion
Solving issues with your RV rooftop AC can be simple. First, check the power supply. Then, clean the filters and coils. Next, inspect the thermostat settings. Finally, verify the refrigerant levels. Regular maintenance can prevent many problems. Always consult your manual for specific instructions.
If issues persist, contact a professional. Proper care ensures a cool and comfortable trip. Happy travels and stay cool on your adventures!