RV batteries are essential for your adventures. But, what if they stop charging on shore power?
This common issue can leave you stranded and frustrated. Understanding why your RV battery isn’t charging on shore power is crucial for maintaining your vehicle and ensuring a smooth trip. Shore power is a reliable source to keep your RV battery charged.
When it fails, the problem could be due to several factors. These include faulty connections, a bad converter, or even a depleted battery. Identifying the root cause can help you fix the issue quickly. In this blog, we will explore common reasons why your RV battery might not charge on shore power. We’ll also provide tips to troubleshoot and resolve the problem, ensuring your RV remains ready for your next journey.

Credit: www.reddit.com
Common Causes
Is your RV battery not charging on shore power? This is a common issue many RV owners face. Understanding the possible causes can help you troubleshoot and fix the problem effectively.
Loose Connections
Loose connections can prevent your RV battery from charging. Check all the wires connected to the battery. Ensure they are tight and secure. Corrosion on the terminals can also cause issues. Clean the terminals and ensure a good connection.
Faulty Charger
A faulty charger can also be the culprit. Inspect your charger for any signs of damage. Test it with a multimeter to ensure it is working correctly. If the charger is faulty, you may need to replace it.

Credit: m.youtube.com
Initial Checks
Experiencing issues with your RV battery not charging on shore power? Start with the initial checks. These simple steps can help identify and fix the problem. Follow this guide to ensure your RV battery gets the charge it needs.
Inspect Power Source
First, inspect the power source. Ensure the shore power is functioning correctly. Use a voltmeter to measure the voltage. The reading should be around 120 volts. If it’s lower, there might be an issue with the shore power connection.
Check if the power cable is securely plugged in. Look for any visible damage on the cable. A damaged cable can prevent the battery from charging.
Also, verify if the circuit breaker is turned on. Sometimes, a tripped breaker can cut off power. Reset the breaker if necessary.
Check Battery Terminals
Next, check the battery terminals. Ensure they are clean and free from corrosion. Corroded terminals can block the flow of electricity. Use a wire brush to clean any corrosion.
Check the connections. Ensure the terminals are tightly connected. Loose connections can prevent proper charging. If the terminals are loose, tighten them with a wrench.
Inspect the battery cables. Look for any signs of wear or damage. Replace any damaged cables to ensure a solid connection.
Here’s a quick checklist for battery terminals:
- Clean terminals
- Tight connections
- Undamaged cables
By performing these initial checks, you can address common issues. Ensure your RV battery charges efficiently on shore power.
Charger Inspection
Facing issues with your RV battery not charging on shore power can be frustrating. One critical step in troubleshooting this problem is performing a detailed charger inspection. This ensures your charger is functioning correctly and delivering the required power to your battery.
Check Charger Output
First, check the charger’s output. Use a multimeter to measure the voltage. Connect the multimeter to the charger’s output terminals. Ensure the voltage matches the charger’s specifications. Any significant deviation might indicate a faulty charger. If the output is incorrect, the charger might need repair or replacement.
Examine Charging Cables
Next, examine the charging cables. Look for any visible damage or wear. Damaged cables can disrupt the power flow. Ensure the connections are tight and secure. Loose connections can lead to charging issues. Replace any frayed or broken cables immediately. Proper cables ensure efficient power transfer from the charger to the battery.
Battery Health
Understanding battery health is crucial for RV owners. A well-maintained battery ensures your RV runs smoothly. If your RV battery is not charging on shore power, assessing its health is the first step. This process includes testing the voltage and checking the battery’s age. Let’s delve into these aspects.
Test Battery Voltage
Testing the battery voltage can tell you a lot about its condition. A simple multimeter is all you need. Here’s a step-by-step guide to test your RV battery voltage:
- Turn off all power sources in the RV.
- Set your multimeter to DC voltage.
- Connect the multimeter probes to the battery terminals.
- Read the voltage on the multimeter.
A healthy battery should read around 12.6 volts when fully charged. If the reading is below 12 volts, your battery might be weak or damaged.
Check Battery Age
Battery age is another key factor in determining its health. Most RV batteries last between 3 to 5 years. Checking the manufacturing date helps you understand if it’s time for a replacement.
To check the age:
- Locate the manufacturing date on the battery.
- It’s usually printed on a label or etched on the case.
If your battery is older than 5 years, it might not hold a charge well. Replacing an old battery can solve many charging issues.
Maintaining your RV battery’s health ensures a smooth and enjoyable journey. Regular checks on voltage and age keep your RV ready for the road.
Fuse And Breaker Issues
Experiencing issues with your RV battery not charging on shore power can be frustrating. One common cause of this problem is fuse and breaker issues. These components are crucial for the electrical system in your RV. They protect the circuits from overload and help maintain a steady power supply. Understanding how to inspect and reset them can save you a lot of trouble.
Inspect Fuses
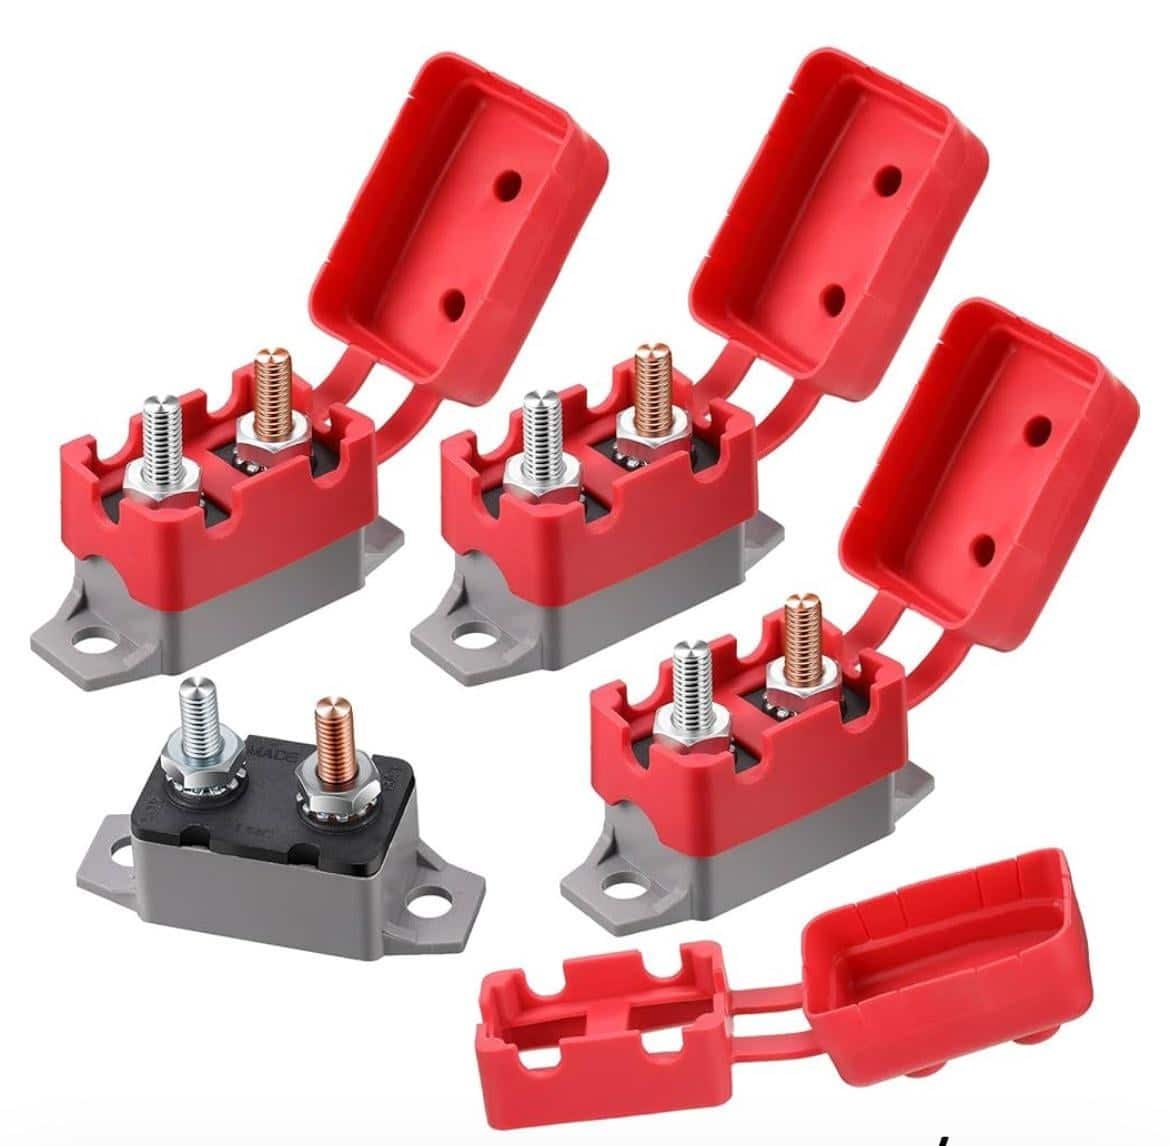
Fuses are small but essential parts of your RV’s electrical system. They prevent electrical fires by breaking the circuit if there is a surge.
- Locate the fuse box in your RV. It is usually near the power converter.
- Remove the cover and inspect each fuse one by one. Use a fuse puller for safety.
- Check for blown fuses. A blown fuse will have a broken metal filament inside.
- Replace any blown fuses with ones of the same amperage. This is important to avoid electrical issues.
Reset Breakers
Breakers act like reusable fuses. They trip when there is an overload or short circuit.
- Find your RV’s breaker panel. It is often in the same area as the fuse box.
- Open the panel and look for any tripped breakers. A tripped breaker will be in a neutral position, not fully on or off.
- Reset the tripped breaker by flipping it to the “off” position first, then back to the “on” position.
If the breaker trips again immediately, there may be a deeper issue. You should consult a professional.
Both fuses and breakers are vital for the safety and functionality of your RV’s electrical system. Regular inspection can help maintain smooth operation and prevent potential issues.
Power Converter Problems
Experiencing issues with your RV battery not charging on shore power? The power converter could be the culprit. The power converter transforms shore power into usable DC power for your RV. If it fails, your battery won’t charge, and your RV’s electrical system may falter.
Check Converter Function
First, check if the converter is working. Locate the converter and listen for a humming sound. This indicates it is operational. If silent, it might be faulty. Use a multimeter to test the voltage output. The reading should be around 13.6 volts. A lower reading suggests a problem.
Inspect Converter Wiring
Next, inspect the converter wiring. Loose or damaged wires can prevent proper charging. Turn off all power sources before inspection. Look for frayed, burnt, or disconnected wires. Tighten any loose connections. Replace damaged wires to ensure a secure connection.
Inverter Troubles
Is your RV battery not charging on shore power? One common culprit is the inverter. Inverter troubles can disrupt the charging process. Let’s dive into the key areas to check.
Inverter Settings
The inverter settings play a crucial role. Incorrect settings can prevent the battery from charging. Ensure the inverter is set to the correct mode. Most inverters have a “charge only” mode. Verify this setting.
Also, check the input voltage settings. The inverter might not recognize the shore power if the settings are off. Refer to your inverter’s manual for the correct voltage range.
Inverter Output
Next, examine the inverter output. The output voltage should match your battery’s charging requirements. Use a multimeter to measure the output voltage.
| Component | Expected Voltage |
|---|---|
| Inverter Output | 12V/24V (depending on your system) |
| Battery Charging Voltage | 14.4V (for a 12V system) |
If the output voltage is too low, the battery won’t charge. Ensure the inverter is providing the correct voltage. Also, inspect the connections. Loose or corroded connections can cause voltage drops.
Finally, verify the inverter is not overloaded. Too many devices plugged in can reduce the charging voltage. Disconnect non-essential devices to test this.
Professional Help
When your RV battery is not charging on shore power, it can be frustrating. You might try troubleshooting on your own. Yet, sometimes you need professional help. Expert technicians can diagnose and fix the issue efficiently. This section guides you on when to call a professional and how to choose the right technician.
When To Call An Expert
Not all battery issues need professional help. But certain signs indicate it’s time to call one. If your battery doesn’t charge after checking connections, call an expert. Strange sounds or smells from the battery area also need professional attention. Continuous low battery power despite charging attempts is another sign. If you’re unsure about electrical systems, it’s safer to get help. Professionals have the right tools and knowledge to handle complex issues.
Choosing A Technician
Finding the right technician is crucial. Start by checking reviews and recommendations. Look for certified technicians. Certification ensures they have the necessary skills. Check their experience with RV battery systems. Ask questions about their diagnostic process. A good technician explains the problem and the solution clearly. Ensure they use quality parts for replacements. This guarantees longer-lasting repairs. Lastly, compare costs, but don’t choose solely based on price. Quality service might cost more but saves you trouble in the long run.

Credit: www.reddit.com
Frequently Asked Questions
Why Is My Rv Battery Not Charging On Shore Power?
Your RV battery might not charge due to a faulty converter. Check connections and ensure the breaker is on.
How Do I Test My Rv Converter?
To test the converter, use a multimeter at the battery terminals. Check for a 13. 6V reading.
What Causes Rv Converter Failure?
Common causes include blown fuses, bad wiring, or component wear. Regular maintenance can prevent failures.
Can A Bad Battery Affect Shore Power Charging?
Yes, a damaged battery can prevent proper charging. Inspect and replace old or faulty batteries.
Conclusion
Identifying why your RV battery isn’t charging on shore power is crucial. Simple issues often cause this problem. Check connections and ensure the charger works. Inspect the battery for signs of wear or damage. Regular maintenance can prevent many issues.
Understanding these basics helps keep your RV adventures smooth. Stay safe and enjoy your travels with a reliable power source. Remember, a well-charged battery means more fun on the road. Keep your RV in top shape for endless adventures.


