Replacing an RV 50 amp power cord can seem daunting. But it’s necessary for a safe and efficient power supply.
Your RV’s power cord is vital. It connects your vehicle to the power source. Over time, the cord may wear out or get damaged. Replacing it ensures a reliable power connection. This guide will help you understand the process. We’ll cover the basics and give helpful tips.
You’ll learn how to choose the right replacement cord. Plus, we’ll share step-by-step instructions. By the end, you’ll know how to replace your RV’s 50 amp power cord confidently. Let’s dive in and keep your RV powered up and ready for adventure.
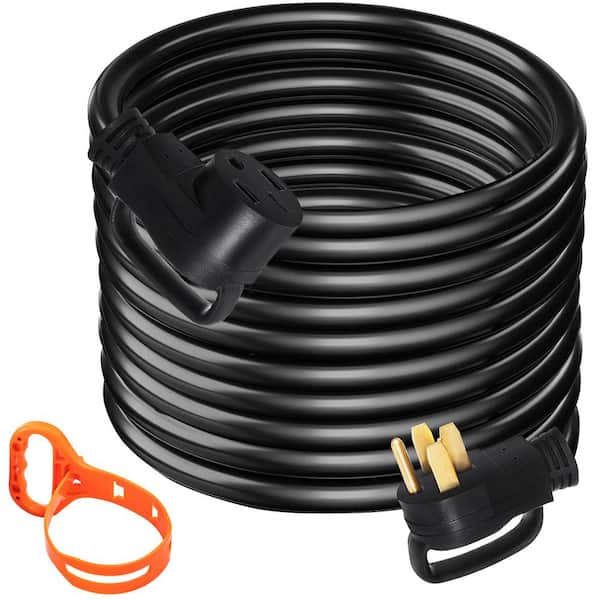
Credit: www.homedepot.com
Tools And Materials Needed
Replacing an RV 50 Amp power cord can seem daunting. With the right tools and materials, the process becomes straightforward. This section outlines the essential tools and required materials for a successful replacement.
Essential Tools
- Wire cutters: For cutting the old power cord.
- Screwdrivers: Both flat-head and Phillips head screwdrivers are needed.
- Wire strippers: To strip insulation from the wires.
- Multimeter: For checking electrical connections.
- Electrical tape: For securing connections.
- Pliers: For gripping and bending wires.
- Utility knife: For precise cutting tasks.
Required Materials
| Material | Purpose |
|---|---|
| New 50 Amp power cord | Replacement for the old or damaged cord. |
| Wire connectors | For connecting the new power cord to the RV wiring. |
| Heat shrink tubing | For insulating and protecting wire connections. |
| Electrical grease | To prevent corrosion on electrical connections. |
Having these tools and materials ready ensures a smooth replacement process. This preparation reduces downtime and ensures your RV is safe and functional.
Credit: www.homedepot.com
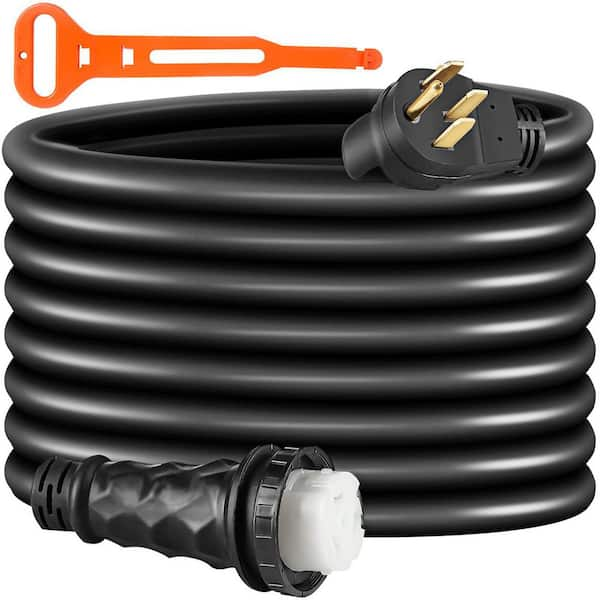
Choosing The Right Power Cord
Selecting the right power cord for your RV is crucial. The right cord ensures safety and efficiency. A 50 Amp power cord is common in RVs. It handles more power, making it ideal for larger RVs with multiple appliances.
Cord Specifications
Not all power cords are the same. Knowing the specifications is essential. Here are some key points to consider:
| Specification | Details |
|---|---|
| Amperage | 50 Amp |
| Length | 25 to 50 feet, depending on your needs |
| Gauge | 6/3 + 8/1 (common for 50 Amp cords) |
| Weather Resistance | Look for weatherproof and durable materials |
Where To Buy
You can find RV power cords at several places. Here are some options:
- RV Supply Stores: These stores specialize in RV parts. They often have knowledgeable staff.
- Online Retailers: Websites like Amazon, eBay, and RV parts websites. They offer a wide selection and customer reviews.
- Big Box Stores: Stores like Walmart and Home Depot. They carry RV accessories, including power cords.
Buying from a reputable source ensures quality and safety. Always check customer reviews and product specifications before purchasing.
Preparing For Replacement
Replacing a 50 amp power cord on your RV is a task that requires careful preparation. Ensuring you have a smooth and safe process is crucial. This section will guide you through the necessary steps for preparing to replace your RV’s 50 amp power cord.
Disconnecting Power
Before starting, you must disconnect the power to avoid any electrical hazards. Follow these steps:
- Turn off the main breaker in your RV.
- Unplug the existing power cord from the power source.
- Verify the power is off using a voltage tester.
Ensuring the power is disconnected is the first step towards safety. Always double-check to be sure.
Workspace Setup
Having an organized workspace is essential for a smooth replacement process. Here are some tips:
- Choose a flat, dry surface to work on.
- Gather all necessary tools and materials such as a screwdriver, voltage tester, and the new 50 amp power cord.
- Ensure you have proper lighting to see clearly.
Keeping your tools within reach will save you time and effort. An organized workspace prevents accidents and increases efficiency.

Credit: www.amazon.com
Removing The Old Power Cord
Replacing the 50 Amp power cord on your RV is essential for maintaining a reliable electrical connection. The first step in this process involves removing the old power cord. This section will guide you through the steps of accessing and detaching the old cord.
Accessing The Cord
Before you start, make sure your RV is unplugged from any power source. Locate the power cord entry point. This is usually where the cord connects to the RV. It may be inside a compartment or behind an access panel. Open the compartment or remove the panel carefully. You should now see the connection point of the power cord.
Detaching The Cord
Start by unscrewing the connection points. Use a screwdriver to remove any screws holding the cord in place. Once the screws are out, gently pull the cord to disconnect it from the RV. Make sure to note how the wires are connected. You may need this information for installing the new cord. Take your time to ensure no wires are damaged during removal.
Installing The New Power Cord
Replacing an RV 50 Amp power cord can seem daunting. But with careful steps, it becomes manageable. Installing the new power cord involves a few key steps. These include connecting the wires and securing the cord. Let’s dive into these steps to ensure a safe and efficient installation.
Connecting The Wires
First, turn off the power supply to avoid any accidents. Then, identify the wires in your new power cord. You will usually see three wires: black, white, and green. The black wire is the “hot” wire, the white wire is the “neutral” wire, and the green wire is the “ground” wire.
Follow these steps to connect the wires:
- Strip about 1/2 inch of insulation from the ends of each wire.
- Connect the black wire to the RV’s power terminal marked “L1”.
- Connect the white wire to the terminal marked “N”.
- Connect the green wire to the terminal marked “G” or “Ground”.
Use a screwdriver to tighten the terminal screws securely. Loose connections can cause overheating and damage.
Securing The Cord
Once the wires are connected, focus on securing the cord. A loose power cord can be a safety hazard. Make sure the cord is firmly attached to the RV’s power inlet.
Here’s how to secure the cord:
- Use cable clamps to hold the cord in place.
- Check that the cord is not pinched or twisted.
- Ensure the power inlet cover closes properly.
Finally, turn on the power supply and test your new connection. Your RV should now be ready for the next adventure with a reliable power source.
Testing The New Installation
Testing the new installation of your RV 50 amp power cord is crucial. It ensures everything works correctly and safely. This step verifies that the replacement was successful. Follow these simple steps to test the new installation.
Initial Power Check
First, plug the RV into a power source. Check that the power source is active. Turn on a few appliances inside the RV. These could be lights, the refrigerator, or the air conditioner. Confirm they are receiving power. This will show if the new cord is working. If all appliances work, the initial check is successful.
Troubleshooting Tips
If you encounter issues, do not panic. Start by checking the power source. Ensure it is providing power. Use a voltmeter to confirm. If the power source is fine, inspect the connections. Make sure all plugs and sockets are secure. Look for any visible damage on the cord. This can help identify problems quickly. If problems persist, seek professional help. A licensed electrician can diagnose and fix complex issues.
Maintenance Tips
Replace your RV’s 50 amp power cord regularly to ensure safe and efficient power supply. Check for wear and tear, and upgrade as needed. This helps prevent electrical problems and keeps your RV running smoothly.
Maintaining your RV’s 50-amp power cord can prevent unexpected issues. Proper care extends its lifespan and ensures safe travels. Follow these simple tips for a trouble-free experience.
Regular Inspections
Check your power cord regularly for signs of wear. Look for any cuts, cracks, or exposed wires. These can lead to dangerous situations. Inspect the plug ends too. They should fit snugly and show no signs of damage. A quick check before each trip can save you from headaches.
Storage Advice
Store your power cord in a cool, dry place. Avoid direct sunlight and extreme temperatures. They can damage the cord over time. Coil the cord neatly to prevent kinks and tangles. Use a storage bag or container designed for RV cords. This keeps it clean and ready for use. Proper storage ensures your power cord lasts longer. “`
Frequently Asked Questions
What Is A 50 Amp Rv Power Cord?
A 50 amp RV power cord is a heavy-duty electrical cable. It provides power to your RV’s electrical system.
How Do You Replace A 50 Amp Rv Power Cord?
First, disconnect the old power cord from the power source. Then, connect the new power cord securely.
Why Is My 50 Amp Rv Power Cord Not Working?
Check for any visible damage or wear. Ensure all connections are secure and the power source is functioning.
Can I Use Any Power Cord For My Rv?
No, you must use a 50 amp power cord. Using the wrong type can cause electrical issues.
Conclusion
Replacing your RV’s 50 amp power cord is essential for safety. A new, reliable cord ensures a steady power supply. Always choose a quality product that fits your RV model. Proper installation keeps your trips worry-free. Regular checks can prevent unexpected issues.
Invest in a good cord for peace of mind. Your RV deserves the best care. Happy travels and safe camping!