Replacing the foot pedal on your Dometic RV toilet can seem daunting. But with the right guide, it’s straightforward and rewarding.
Your RV is your home on wheels, and every component needs to function well. The foot pedal on your Dometic RV toilet is essential for proper operation. Over time, it may wear out or break, leaving you in need of a replacement.
Knowing how to replace this pedal can save you time and money. In this blog, we’ll walk you through the steps to replace the foot pedal on your Dometic RV toilet. By the end, you’ll have the confidence to handle this task on your own. Let’s get started!
Introduction To Rv Toilet Foot Pedal Replacement
Replacing the foot pedal on your Dometic RV toilet might seem daunting. But it can be straightforward with the right guidance. Understanding the basics will make the task less stressful. This blog post will guide you through the process. Let’s begin with why you should replace your RV toilet foot pedal.
Why Replace Your Rv Toilet Foot Pedal?
Foot pedals wear out over time. They may stop working properly. A faulty pedal can lead to water leaks. This can cause damage to your RV. It can also result in unpleasant odors. Replacing the pedal can fix these issues. It will ensure your RV toilet works efficiently.
Benefits Of Doing It Yourself
Replacing the foot pedal yourself can save you money. Hiring a professional can be expensive. Doing it yourself gives you hands-on experience. It can be a learning opportunity. It also allows you to fix the problem quickly. You won’t have to wait for a repair service.
Completing the task yourself can be satisfying. It gives you a sense of accomplishment. You will also gain confidence in handling other RV repairs. This can be useful for future maintenance tasks. Overall, it is a practical and rewarding experience.

Credit: www.amazon.com
Tools And Materials Needed
Replacing the foot pedal on your Dometic RV toilet can seem daunting. But with the right tools and materials, the task becomes straightforward. This guide will help you gather everything needed for a smooth replacement process.
Essential Tools
Having the correct tools ensures a smooth replacement process. You will need a few basic items:
- Screwdriver set: Both Phillips and flathead are necessary.
- Pliers: To grip and twist components with ease.
- Adjustable wrench: For loosening and tightening nuts and bolts.
- Flashlight: For better visibility in tight spaces.
- Bucket and towels: To catch any water spills and clean up.
Recommended Materials
Besides tools, you will need specific materials to complete the job. Gather these items before starting:
- Replacement foot pedal kit: Ensure it’s compatible with your Dometic toilet model.
- Plumber’s tape: To seal connections and prevent leaks.
- Rubber gloves: To keep your hands clean and protected.
- Cleaning supplies: For sanitizing the area around the toilet.
- User manual: To reference specific instructions and diagrams.
With these tools and materials, you are ready to replace your Dometic RV toilet foot pedal. The preparation will save time and make the task easier.
Preparing Your Rv Toilet For Replacement
Replacing the foot pedal on your Dometic RV toilet might seem daunting. But with a few steps, you can ensure a smooth process. This guide will take you through preparing your RV toilet for replacement. Let’s dive in!
Safety Precautions
- Turn off the water supply to the toilet.
- Disconnect any electrical connections if applicable.
- Wear protective gloves to avoid direct contact with any waste.
- Ensure proper ventilation in your RV bathroom.
Safety first! These steps will help you avoid accidents and keep your workspace clean.
Initial Steps
- Flush the toilet to empty the bowl.
- Use a sponge to remove any remaining water.
- Locate the screws securing the toilet to the floor.
- Use a wrench to unscrew and remove the bolts.
Starting with these steps will make the replacement process easier. Ensure you follow each step carefully.
| Steps | Description |
|---|---|
| 1 | Flush and empty the bowl |
| 2 | Remove remaining water with a sponge |
| 3 | Locate and unscrew bolts |
By following these initial steps and safety precautions, you set the stage for a successful replacement of your Dometic RV toilet foot pedal. Stay tuned for more detailed instructions on the actual replacement process!
Removing The Old Foot Pedal
Is your Dometic RV toilet foot pedal broken or malfunctioning? Replacing the old foot pedal is essential for a smooth experience. Let’s walk through the steps to remove the old foot pedal effectively.
Disconnecting The Water Supply
Before starting, ensure safety by disconnecting the water supply. Turn off the water supply valve to your RV toilet. This prevents any water leakage during the process.
- Locate the water supply valve, usually behind or below the toilet.
- Turn the valve clockwise to shut off the water flow.
- Flush the toilet to drain any remaining water in the bowl.
Disconnecting the water supply is a crucial first step. It ensures that you won’t encounter water messes during the replacement.
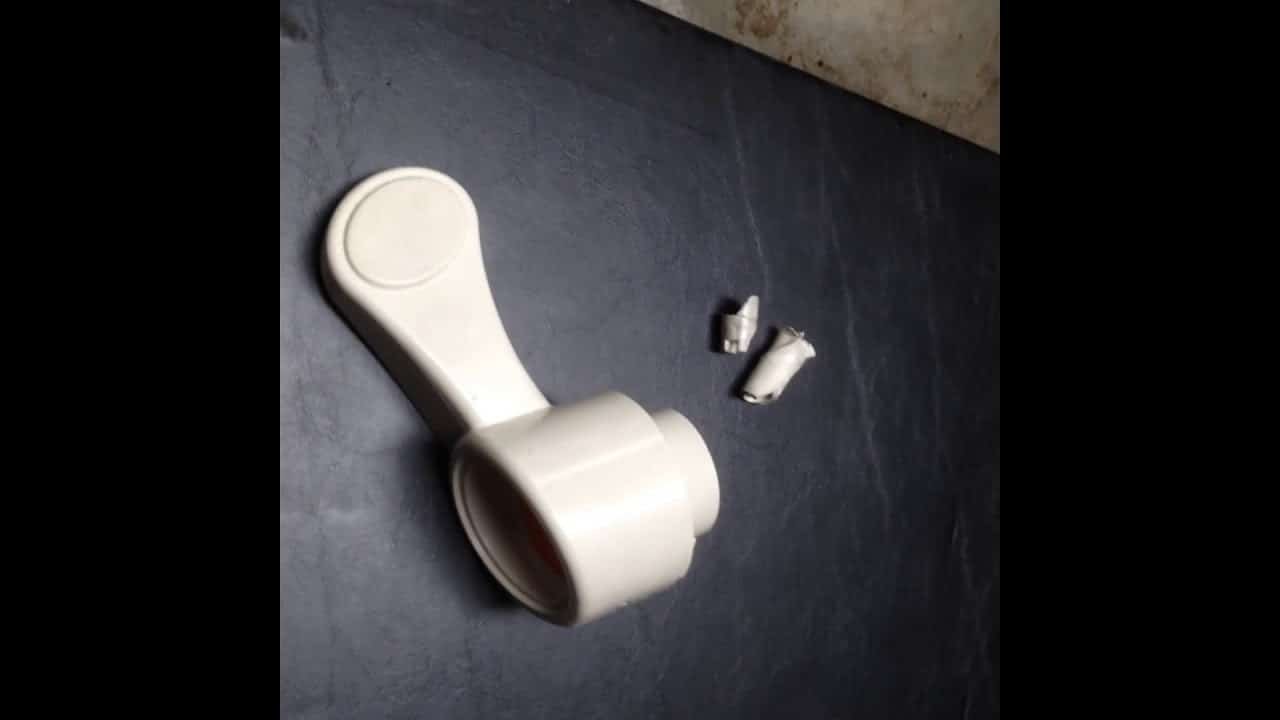
Detaching The Pedal
Now that the water supply is disconnected, it’s time to detach the old pedal. Follow these simple steps:
- Locate the screws or bolts securing the foot pedal to the toilet base.
- Use a screwdriver or wrench to carefully remove these fasteners.
- Gently pull the pedal away from the toilet base.
Ensure you keep all screws and bolts in a safe place. This will make reassembly easier later.
If the pedal is stuck, apply gentle pressure. Avoid using excessive force to prevent damage.
With these steps, you’ve successfully removed the old foot pedal. You’re now ready to install the new one. Stay tuned for the next steps!
Installing The New Foot Pedal
Replacing a worn-out foot pedal on your Dometic RV toilet can seem daunting. But, with a few simple steps, you’ll have a new pedal installed in no time. This guide will walk you through the process, ensuring your toilet is back in working order quickly.
Aligning The New Pedal
First, ensure you have the correct foot pedal for your Dometic RV toilet model. Place the new pedal next to the old one for comparison. This step is crucial to avoid compatibility issues.
Next, remove the old pedal carefully. Use a screwdriver to unscrew any bolts holding it in place. Once removed, align the new pedal with the mounting holes. Make sure the pedal fits snugly and is oriented correctly.
Securing The Pedal In Place
With the new pedal aligned, it’s time to secure it. Insert the screws into the mounting holes and tighten them with a screwdriver. Ensure the screws are tight but do not overtighten them to avoid damaging the pedal or the toilet base.
Check the pedal’s movement after securing it. Press it down a few times to ensure it operates smoothly. If it feels stiff or loose, adjust the screws as needed.
Finally, test the toilet flush mechanism. Ensure the pedal activates the flush properly. If everything works as expected, your installation is complete!
| Steps | Action |
|---|---|
| 1 | Compare new and old pedals |
| 2 | Remove old pedal |
| 3 | Align new pedal |
| 4 | Secure pedal with screws |
| 5 | Test pedal and flush mechanism |
By following these steps, you’ll have a new foot pedal installed quickly and efficiently. Enjoy the convenience of a fully functional Dometic RV toilet!
Reconnecting The Water Supply
After installing a new foot pedal on your Dometic RV toilet, it’s crucial to reconnect the water supply correctly. This step ensures your toilet functions efficiently. Follow these steps to get it right.
Ensuring Proper Fit
First, check that the water supply hose fits snugly onto the inlet valve. A loose connection can cause leaks or water pressure issues.
| Step | Description |
|---|---|
| 1 | Align the hose with the inlet valve. |
| 2 | Push the hose firmly onto the valve. |
| 3 | Tighten the clamp or connector to secure the hose. |
Checking For Leaks
Turn on the water supply slowly and observe the connection. Look for any signs of leakage. If you see water dripping, tighten the hose clamp or connector further.
- Listen for any hissing sounds which indicate a leak.
- Use a dry cloth to wipe around the connection to detect moisture.
Once you confirm there are no leaks, proceed to test the toilet flush. Ensure the water flows smoothly and that the foot pedal operates correctly.
- Press the foot pedal to start the flush.
- Observe the water flow and refill process.
- Check for any unusual noises or issues.
By following these steps, you ensure your Dometic RV toilet is ready for use. Properly reconnecting the water supply prevents potential problems and ensures a smooth operation.
Testing The New Foot Pedal
After replacing the foot pedal on your Dometic RV toilet, it is crucial to test the new installation. Ensuring the pedal works properly will prevent future issues. Let’s walk through the process of testing your new foot pedal.
Functionality Check
First, press the foot pedal gently. It should move smoothly without sticking. Observe the water flow into the bowl. The water should start flowing immediately as you press the pedal.
Next, release the pedal. The water should stop flowing instantly. Check if the toilet bowl is flushing correctly. It should clear all waste and refill with water. This indicates proper functioning.
Troubleshooting Common Issues
If the pedal feels stiff, check for obstructions. Sometimes debris can block the mechanism. Clean the area around the pedal thoroughly.
If the water flow is weak, inspect the water supply line. Ensure it is connected properly and there are no leaks. A weak flow can indicate a kinked or damaged hose.
In case the toilet does not flush, check the valve. It might be stuck or damaged. Replacing a faulty valve can resolve flushing issues.
Testing the new foot pedal is essential. It ensures the toilet functions correctly and avoids future inconvenience. Happy RVing!
Maintenance Tips
Keeping your Dometic RV toilet foot pedal in top shape ensures smooth operation. Regular maintenance can prevent issues and extend the life of your toilet. Here are some essential maintenance tips to follow.
Regular Cleaning
Clean the foot pedal often to avoid dirt buildup. Use a mild soap and water solution. Gently scrub the pedal with a soft brush. Rinse thoroughly and dry with a clean cloth.
Avoid harsh chemicals. They can damage the pedal material. Regular cleaning keeps the foot pedal looking and working like new.
Preventative Measures
Check the foot pedal for wear and tear. Look for cracks or loose parts. Tighten any screws if needed.
Lubricate the pedal mechanism with a silicone spray. This reduces friction and prolongs its life. Regular lubrication ensures smooth and easy operation.
Inspect other parts of the toilet. Ensure everything is in good condition. Early detection of issues can save you time and money.

Credit: www.youtube.com
Frequently Asked Questions
How Do I Replace The Dometic Rv Toilet Foot Pedal?
To replace the foot pedal, first turn off the water supply. Unscrew the old pedal, then attach the new one. Ensure everything is securely fastened and turn the water back on.
What Tools Are Needed For Foot Pedal Replacement?
You will need a wrench, screwdriver, and possibly pliers. These tools will help you remove the old pedal and secure the new one.
Can I Replace The Foot Pedal Myself?
Yes, you can replace it yourself with basic tools. Follow the manufacturer’s instructions carefully for a smooth replacement process.
How Long Does It Take To Replace A Foot Pedal?
Replacing a Dometic RV toilet foot pedal typically takes about 30 minutes. This can vary depending on your experience and tool availability.
Conclusion
Replacing your Dometic RV toilet foot pedal is simple and rewarding. A new pedal ensures smooth operation and comfort. Follow the steps, and you’ll save time and money. Ensure you have the right tools for the job. Don’t forget to check for any leaks after installation.
Enjoy your RV travels with a fully functional toilet. A small effort leads to a big difference in your RV experience. Happy camping!